We caught up with our wonderful studio team this week to get their top 10 tips on providing the best possible artwork when it comes to creating your promotional products.
Artwork plays a vital role in creating eye-catching and impactful branded merchandise. Whether you're preparing designs for printed t-shirts, mugs, or promotional items, it's crucial to provide the right artwork to ensure high-quality results and a strong representation of your brand. To help you navigate the artwork process successfully, we have compiled a list of the top 10 artwork tips for branded merchandise. By following these guidelines, you'll be well-equipped to provide artwork that allows us to help you produce stunning promotional products.
1: Use Vector Files:
- Whenever possible, design your artwork using vector-based software such as Adobe Illustrator. Vector files allow for infinite scalability without any loss of quality, ensuring your designs are crisp and clear on merchandise of any size. These file types include; .pdf .eps .ai .svg
2: Colour Mode:
- To ensure accurate colour representation in print, convert your artwork to CMYK colour mode. This mode is specific to print and will help avoid any unexpected colour discrepancies. This is ideal for digitally printed branding methods as the colours will have a closer match to what you see on screen.
- Most print methods will require matching to PMS colours (pantones) If your artwork was created by a designer, they will have the pantone colours that were used to match the colours on file or in your brand guidelines.
3: Opt for High Resolution:
- If unable to provide vectored artwork, provide artwork with high resolution to ensure clarity and sharpness in the final printed item. Aim for a resolution of at least 300 DPI (dots per inch) to achieve optimal print quality. These file types include; .jpg .png
4: Remove Backgrounds:
- When designing artwork, consider removing any background colours or elements and opt for a transparent background instead. This allows for greater versatility in applying your design to various merchandise items.
5: Embed Fonts or Convert to Outlines:
- To avoid font-related issues, embed the fonts used in your artwork or convert the text to outlines. This ensures that the correct fonts are preserved, even if we do not have access to the same fonts as you.
- Ensure all artwork elements are embedded to the file to ensure that your artwork doesn’t loose quality or have any missing parts.
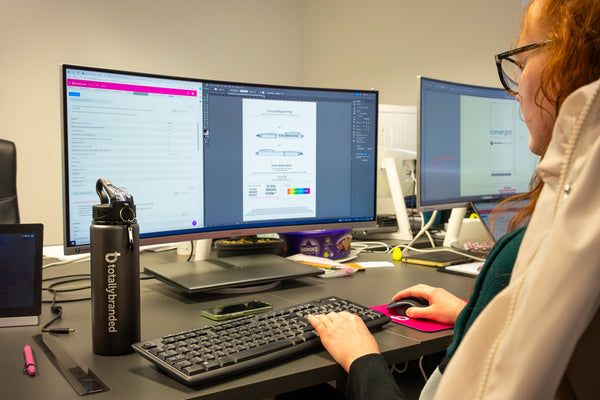
6: Custom Fit the Design:
- Different merchandise items have varying dimensions and print areas. Design your artwork specifically for each item, ensuring it fits within the designated print area. This prevents any unintentional cropping or distortion during printing.
7: Prioritise Simplicity:
- When creating artwork for branded merchandise, keep in mind that simpler designs often work best, especially on smaller items. Intricate details may not be clearly visible when scaled down, so opt for clean and easily recognizable designs that maintain the core elements of your brand.
8: Maintain Brand Consistency:
- Consistency is key in maintaining strong branding. Ensure that your artwork aligns with your brand's colour palette, logos, fonts, and overall visual identity. This consistency will enhance brand recognition and reinforce your brand message.
9: Proofread and Review:
- Before submitting your artwork, thoroughly proofread and review it to ensure accuracy and avoid any spelling mistakes or other errors. It is also helpful to seek feedback from teammates or trusted colleagues to ensure your artwork is of the highest quality.
10: Understanding the Branding Method:
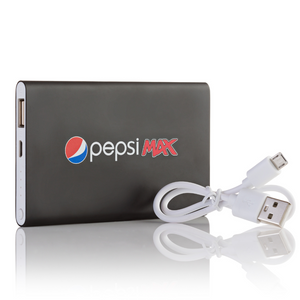
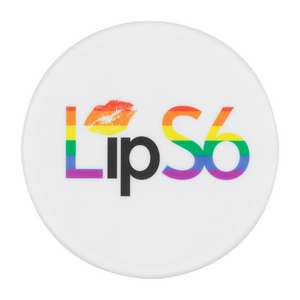
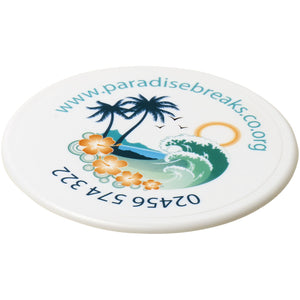
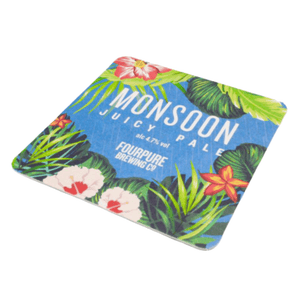
- Digital Print will always print in full colour, meaning no matter how many colours are in your artwork, this branding method will include them all.
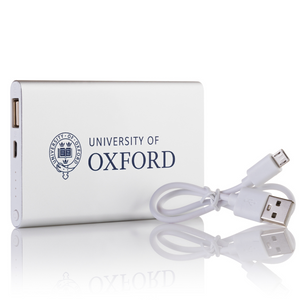
- Screen Print/1-4 Colour Print – This print method is best for simple vectored logos that do not include gradients otherwise your artwork will have to be converted to accommodate a solid spot colour to suit the branding method.
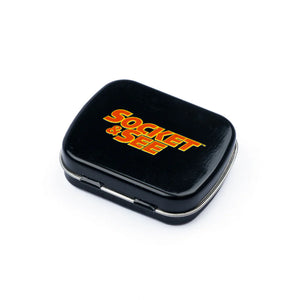
- Deboss/Emboss - An emboss branding method involves creating a raised design or pattern on a material's surface. A debossed branding method creates a design that is stamped down or recessed into the surrounding material. Both branding methods are created using heat and will not include any colour in your artwork.
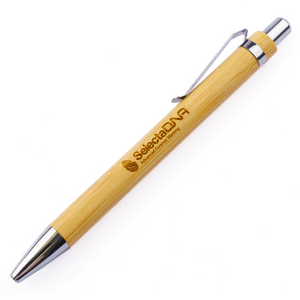
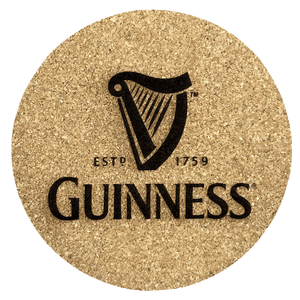
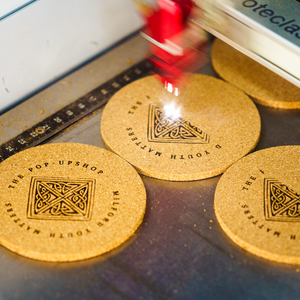
- Engraving – This method involves a laser burning your artwork into the product which creates a highly detailed, executive effect on the product. This method can create precise and detailed designs that are long-lasting and difficult to remove.
- Embroidery – This method involves converting your artwork into embroidery stitches and coloured threads which is then sewn into the garment. This method results in a durable and high-quality finish that is commonly used on clothing, hats, bags, and other textiles to promote brands and logos.
Providing the right artwork for your branded merchandise is crucial to achieving outstanding results and effectively representing your brand. By following these top 10 artwork tips, you'll be well-prepared to provide artwork that adheres to technical specifications, showcases your brand clearly, and conveys your desired message effectively. With attention to detail and a clear understanding of the artwork process, you can confidently collaborate with merchandise providers to create visually striking branded items that leave a lasting impression on your audience.

 by Totally Branded